So you've built your Elastix system and you're super excited but you need to get the traffic into the system, you now need to start thinking about trunks specifically SIP in this instance.
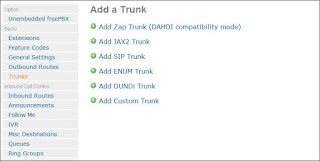
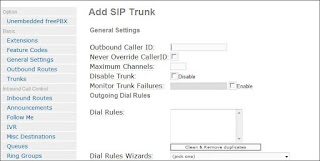
First up you need to head to the Trunks section of Elastix, then into Add SIP trunk.
 |
| Add a Trunk Menu |
 |
| Add SIP Trunk Options |
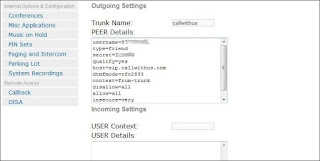
Next up you need to go to enter your peer details, sadly all providers will have different options and this will be the most difficult part of the process. In my experience the key is to go to your provider and enquire firstly the documentation before selecting a company to go with. Normally you will gather the details from a quick help section on the site but i would advise checking beforehand to make this process quicker, another point to remember when looking for this is that they may refer to adding a trunk with asterisk and you can then copy the setup from there when creating a SIP trunk.
 |
| Example Outgoing Settings |
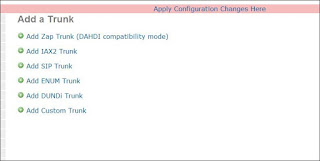
After you've entered your details for creating a sip trunk you need to hit submit at the bottom of the page, once you've completed this you'll see at the top of the screen a bar along the top asking to "Apply Configuration Changes Here". Once you've hit this your configuration will be live.
 |
| Apply Configuration Changes |


No comments:
Post a Comment